-

ReadQRCode(): A New function by FileMaker 19.5
DATE:Claris has launched its FileMaker 19.5 version. This launch improves the platform’s performance, security, and dependability. The latest version of […]
-
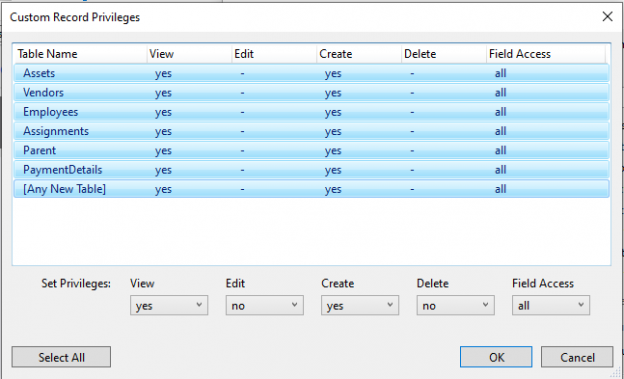
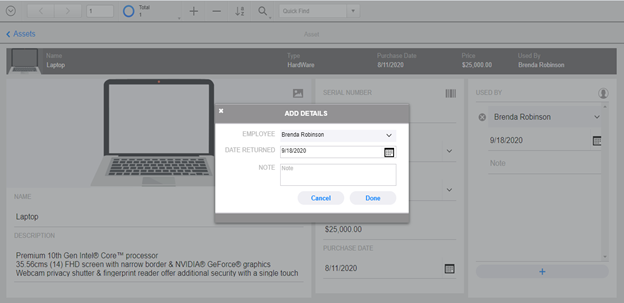
Editing & Restricting record access privileges – FileMaker
DATE:We will illustrate a case study to demonstrate how to restrict users with limited access from editing a record once […]
-
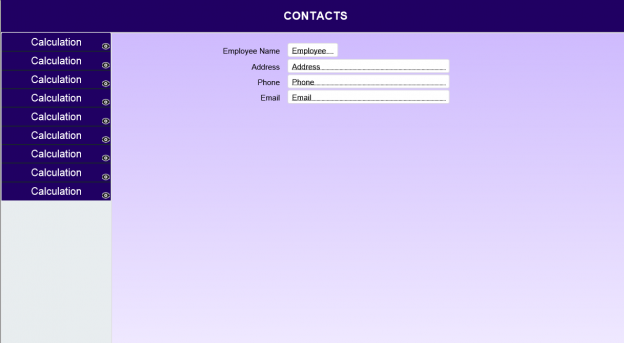
Guide to Avoid Navigation Rework in FileMaker
DATE:Did you ever encounter the turmoil of adding a new module on all layouts post creation of standard menu navigation? […]
-
Call FileMaker Script from a JavaScript function
DATE:This article is the second part of a two-part series diving into some new features of FileMaker 19. In the […]
-
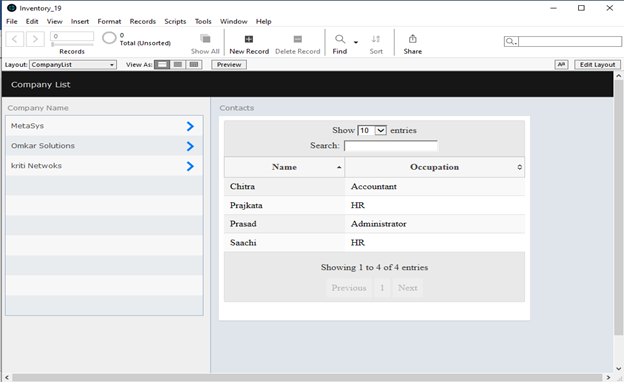
Card Window in FileMaker 19 WebDirect
DATE:FileMaker 19 offers many new features that can be used to enhance the UI/UX of FileMaker Custom apps. One exciting […]
-
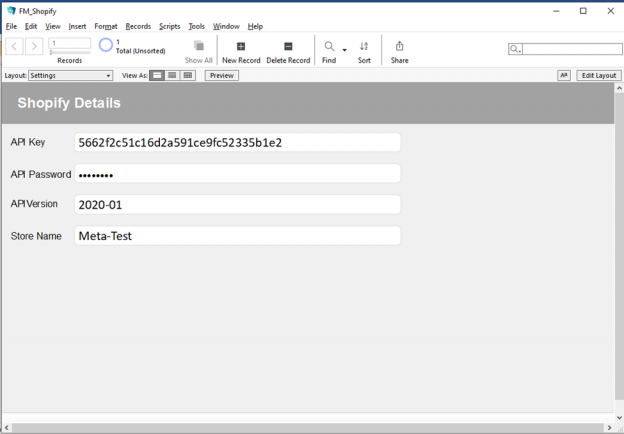
Publish Product data from FileMaker solution to Shopify store
DATE:This blog article describes a simple way to integrate Shopify and Filemaker. Shopify is a popular ecommerce platform used by […]
-

8 Features required in a Workflow Management Software
DATE:Managing daily business chores in an organized and efficient manner is no more an easy task. So it becomes imperative […]
-
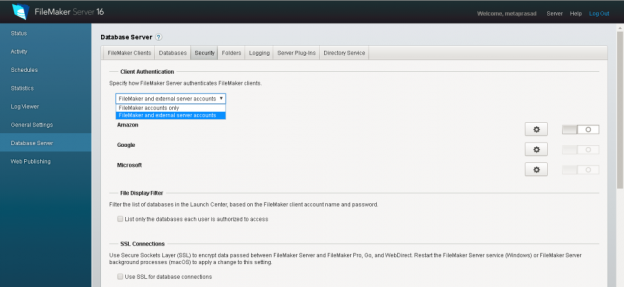
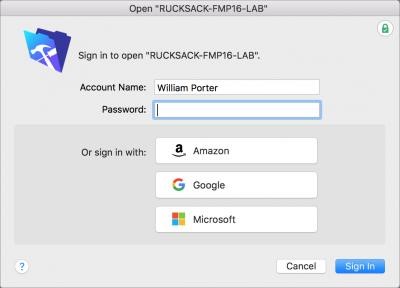
Implementing OAuth in Custom FileMaker Application
DATE:This article is a continuation of the FileMaker OAuth 2.0 Authentication Here we will show you how OAuth works with […]
-
What’s new in FileMaker 16?
DATE:FileMaker 16 will change the way how custom apps are built. The new version provides ample scope for the professional […]